Using numbing cream before a tattoo session sounds straightforward, put it on, wait, get tattooed. But the difference between a cream that works well and one that barely does anything is almost always in how it was applied rather than the product itself. Timing, technique, and a few practical details determine how much numbing effect you actually get when you sit down in the chair.
Here’s how to do it properly so you get the most out of the product before your session starts.
Talk to Your Artist First
Before applying anything, check with your tattoo artist. Most artists are fine with clients using numbing cream, but some have preferences about which products they’ll work over and how the skin should be prepped. A small number of artists prefer not to work on skin that has been numbed because it can change the texture slightly during the session.
Getting this conversation out of the way before your appointment means no surprises on the day. Let your artist know what product you’re planning to use, and follow their guidance if they have specific instructions. This is also a good time to confirm the placement of the tattoo so you know exactly where to apply the cream.
What You Need Before You Start
Getting organized before you apply saves time and avoids the situation of having cream on your hands and nothing else ready.
You’ll need the numbing cream, plastic wrap or cling film to cover the area after application, medical tape or a bandage to secure the wrap if needed, and a clock or timer so you can track how long the cream has been on. Clean hands are non-negotiable, washing them thoroughly before touching the application area keeps bacteria away from skin you’re about to prepare for an open wound.
Cleaning the Skin First
The area where you apply the cream needs to be clean and dry before anything goes on it. Wash the skin with mild soap and water, then pat it completely dry. Any lotion, oil, or residue on the skin surface will act as a barrier between the cream and the skin, reducing how well the lidocaine absorbs.
Some people also do a very light exfoliation of the area a day or two before the appointment. This removes dead skin cell buildup that can slow absorption. It’s not a required step, but for areas with naturally thicker skin it can make a difference in how effectively the lidocaine penetrates.
Do not shave the area immediately before applying numbing cream. Shaving creates micro-abrasions on the skin surface, and applying lidocaine cream over freshly shaved skin increases absorption unpredictably and can cause irritation. If the area needs to be shaved, do it the night before rather than right before application.
How Much Cream to Apply
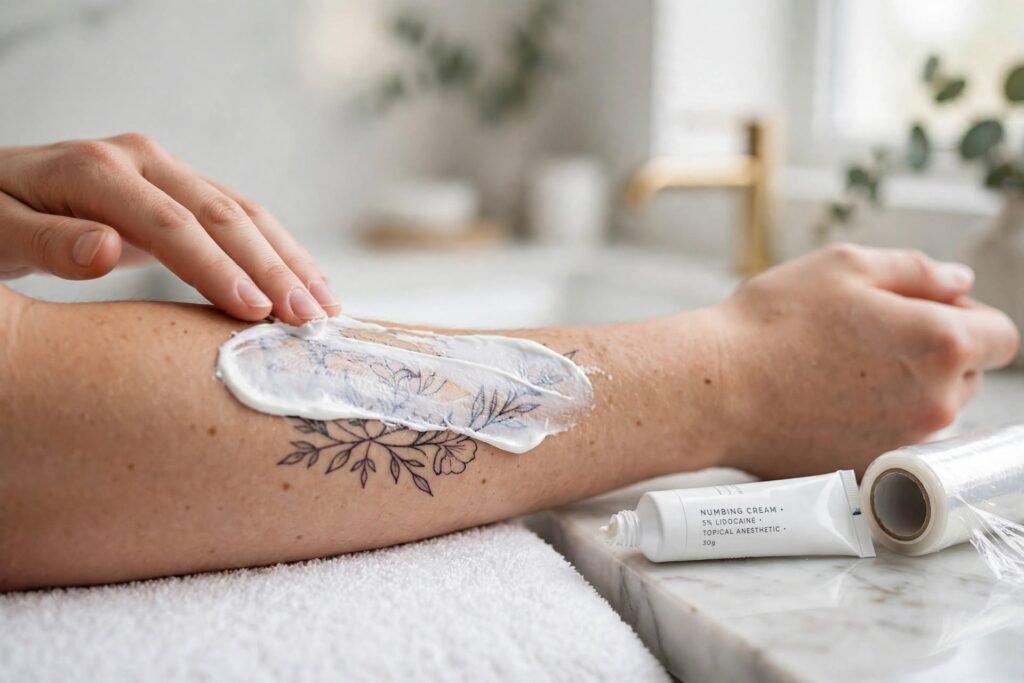
Apply a generous, even layer over the entire area that will be tattooed. Generous here means thick enough that the cream is visibly sitting on the skin, not rubbed in like a regular lotion. You want a layer that stays on the surface while it absorbs, not a thin film that disappears immediately.
Cover the full tattoo placement area plus a small margin around it. The numbing effect is localized to where the cream is applied, so skimping on coverage means parts of the tattoo placement won’t be numbed when the needle gets there.
Do not rub the cream in aggressively. Apply it and spread it evenly with your fingertips, but the goal is an even coating over the skin, not deep massaging of the product into the tissue. Let the occlusion step do the absorption work.
Covering With Plastic Wrap
Once the cream is applied, cover the area with plastic wrap and secure it so it stays in place. This step is not optional if you want the cream to work at the depth needed for tattooing. The wrap creates an occlusive environment that raises the local skin temperature slightly and dramatically increases how deeply the lidocaine penetrates through the skin layers.
Without the wrap, lidocaine absorbs more slowly and may not reach sufficient concentration in the dermis, the layer where the tattoo needle actually works, to produce meaningful numbing. The difference in effectiveness is significant.
Use enough wrap to cover the entire cream-covered area with some overlap at the edges. Secure it with medical tape if needed, particularly for areas that are hard to keep covered, like near joints or on areas that flex with movement.
Timing the Application
This is where most people go wrong. Applying numbing cream too close to the start of the session is one of the most common reasons it doesn’t work as expected.
Most lidocaine-based numbing creams need between 45 minutes and 90 minutes of contact time to reach effective concentration in the skin. An hour is a reliable minimum for most placements. Areas with thicker skin, outer thigh, upper arm, calf, may benefit from the full 90 minutes. Thinner skin areas like the inner arm or ankle may numb faster, but going the full hour is still worth it.
Work backward from your appointment time to figure out when to apply. If your session starts at 2pm and the studio is 20 minutes away, you want the cream applied and wrapped by 12:30pm at the latest. Account for travel time so the cream isn’t sitting on longer than needed, which can cause skin sensitivity in some people.
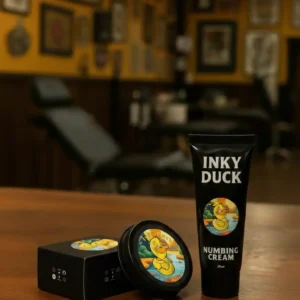
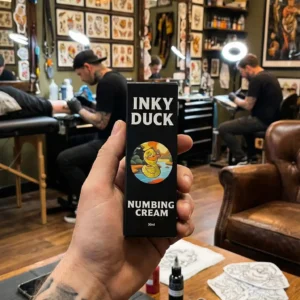
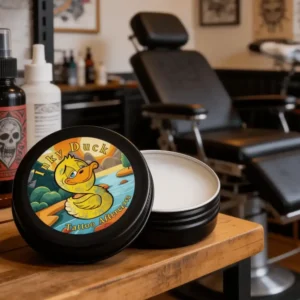
Products like Inky Duck’s numbing cream are formulated with this application window in mind. The instructions give a clear timing guideline so you’re not guessing about when to start the process relative to your session time.
Removing the Cream Before Your Session
When you arrive at the studio, remove the plastic wrap and wipe off the remaining cream with a clean cloth or paper towel. The skin should feel noticeably numb or significantly dulled to touch at this point. Your artist will then clean the area with their standard prep process before starting.
Do not leave the cream on longer than the recommended time thinking more time means more numbing. Extended application beyond the recommended window doesn’t increase the numbing effect and can cause skin irritation or surface changes that affect how the session goes.
What to Expect When the Session Starts
Even with well-applied numbing cream, a tattoo session doesn’t become completely pain-free. Lidocaine reduces the sharp, stinging quality of the needle effectively, but pressure and vibration are still felt. Most people describe the experience as significantly more manageable rather than entirely without sensation.
The numbing effect typically lasts between one and three hours depending on the individual, the placement, and how the body clears the lidocaine as the session progresses. Longer sessions will see the effect diminish toward the end as the tattooing process increases blood flow to the area and accelerates how quickly the lidocaine is cleared from the tissue.
Going in with realistic expectations about what numbing cream does, and applying it correctly so it actually has a chance to work, makes a real difference in how the session goes.