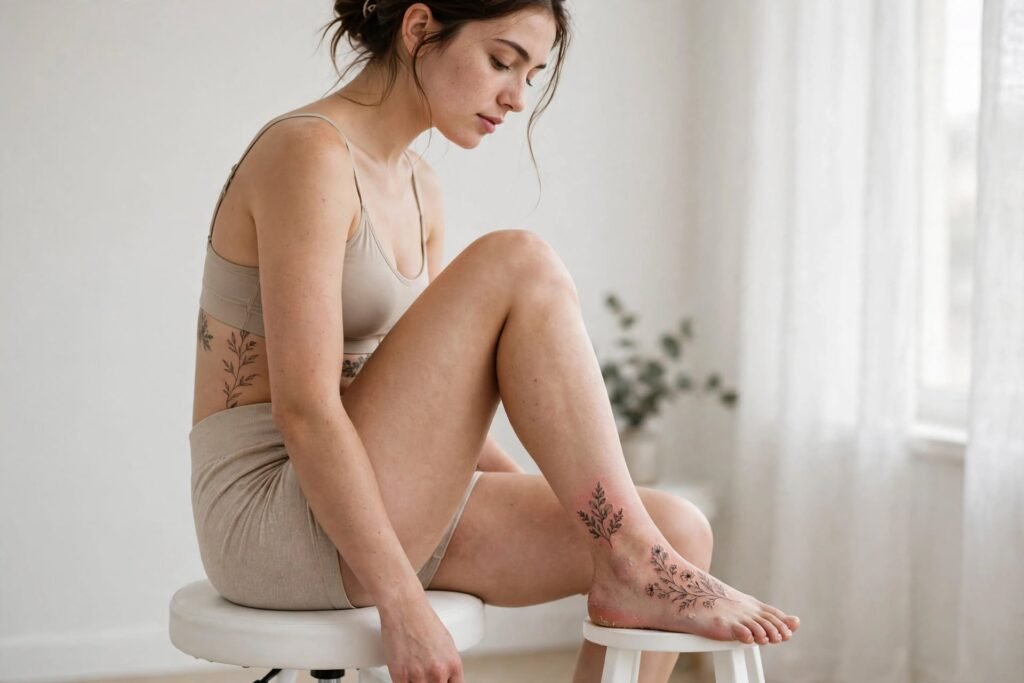
Getting a tattoo on the foot, ankle, or rib calls for a clear plan after the session. These three areas share traits that change how the skin reacts and how the body responds. This guide walks through what to expect and how to care for new ink on these spots in a friendly, practical way. Read it like a friend giving step by step advice for the first two weeks after the appointment. For a broader overview, check our full tattoo aftercare guide.
These locations behave differently because of movement, contact, and circulation. The foot and ankle face pressure from shoes and repeated motion from walking. The rib area moves with each breath. Bone sits near the surface in some places. Those factors affect swelling, scab formation, and sensitivity. Knowing the cause helps you pick care steps that reduce problems and speed recovery.
Movement pulls at the skin and can open scabs. Walking, bending, and deep breathing all change how the skin sits over the ink. When the skin moves a lot, the body sends more blood to the area. That can increase swelling and make the tattoo feel tender for longer.
Contact from clothing and footwear can rub the tattoo and catch on scabs. Shoes and socks press on the foot and ankle. Tight bands and straps press on the rib area. That friction can cause scabs to tear and can pull ink out of the skin.
Start with a basic routine and keep it steady. Wash hands before you touch the tattoo. Use lukewarm water and a mild, fragrance free soap to remove blood and plasma. Pat the area dry with a clean towel. Apply a thin layer of the product your artist recommends. Avoid soaking the tattoo in water. Keep the area out of direct sun until the skin finishes healing. Follow these steps for the first two weeks and adjust as the skin improves.
Wash hands before touching the tattoo. Rinse the area with lukewarm water. Use a small amount of soap and move your fingers gently over the skin. Rinse well and pat dry. Do not rub the area. Clean the tattoo two times each day unless your artist gives other instructions. Proper hand hygiene, as outlined by the CDC, is one of the simplest ways to prevent infection.
After cleaning, apply a small amount of the recommended product. Spread it in a thin layer so the skin can breathe. Too much product can trap moisture and slow healing — learn more about over-moisturizing a tattoo. Use the product two or three times a day or as directed. If a product causes a reaction, stop using it and consult a medical professional.
Plan the first week with footwear in mind. Keep the tattoo covered for the first few hours as instructed. If your artist used a second skin bandage, follow their removal directions carefully. After that, leave it open to air when you are at home and sitting. When shoes are necessary, choose a pair that does not press on the tattoo. Slip on sandals or open shoes when possible. If closed shoes are required, use a clean, soft sock and avoid tight laces. Change socks daily and keep them dry.
Elevate the foot when you sit or lie down. Raising the foot helps fluid drain and reduces pressure on the tattoo. Rest with the foot raised for short periods throughout the day. Avoid long walks and standing for long periods in the first three days. If swelling increases after activity, rest and elevate the foot until the swelling drops.
Friction from shoes and socks can cause scabs to form in odd shapes or to tear. If the tattoo sits on the top of the foot, choose footwear that keeps the area free from pressure. If the tattoo sits near the ankle bone, avoid straps and high socks that rub the area. If a scab catches on fabric, stop and apply a small amount of the recommended product to soften the area. Do not pull at the scab.
Rib tattoos need clothing that does not rub the area. Wear shirts that do not catch on scabs. Sleep on the back or on the side that keeps pressure off the tattoo for the first few nights. If the tattoo sits under a band or strap, use a soft, loose garment until the skin heals.
Breathing moves the skin over the ribs with each inhale and exhale. That motion can make the area feel tender for several days. Deep breaths will not harm the tattoo, but heavy breathing from intense exercise can increase swelling. Avoid heavy cardio and lifting for the first week. Short walks and light movement are fine and help circulation without adding pressure.
If the tattoo sits near the lower rib, be careful with bending and twisting. Movements that stretch the skin can pull at scabs. Move slowly when reaching or bending in the first week. If a scab catches on clothing, stop and apply a small amount of the recommended product to soften the area. Do not pull at the scab.
Small errors in care can cause longer healing time or affect the final look. Avoid cleaning too often. Over cleaning strips natural oils and can delay healing. Avoid applying too much ointment. Too much product can suffocate the skin and trap bacteria. Do not pick or peel scabs — if you’re wondering why your tattoo is scabbing so much, we have a full breakdown. Picking can pull ink out and leave scars. Avoid tight clothing and tight shoes that press on the tattoo. Friction can cause scabs to tear and slow recovery.
Watch for spreading redness, increasing pain, fever, or pus. These signs can point to an infection that needs treatment. Red streaks moving away from the tattoo, a bad smell, or thick yellow or green discharge are signs to seek care quickly. For medical background on skin infections, the Mayo Clinic offers a helpful overview. If a reaction appears after using a product, stop the product and consult a medical professional.
Healing varies by person and by body part. Use this timeline as a general guide and watch for steady improvement. For a deeper breakdown, see the 6 stages of tattoo healing.
Expect redness, swelling, and some fluid. Keep the area clean and follow the initial dressing instructions.
Scabs will form and itching may start. Continue cleaning and moisturizing. Resist scratching.
Scabs will flake off and the skin will look dull as it finishes healing. The color will settle over the next few weeks.
Plan footwear and clothing before the session. Bring sandals or loose shoes for the trip home. Pack soft socks and a loose shirt for rib work. Keep a small kit with mild soap, clean towels, and the recommended product at home and at work. Write the care steps on a phone note and check them twice a day until the tattoo looks and feels normal. Avoid pools, hot tubs, and long baths until the skin finishes healing. Short showers are fine. Do not soak the tattoo. Keep sun exposure to a minimum and cover the area if sun is unavoidable — read more about how SPF protects tattoos. Also consider how seasonal weather affects your tattoo skin when planning your session.
These three areas can take longer to heal than other spots on the body. Keep the routine simple and steady. Rest when needed and avoid activities that add pressure or friction. With consistent care, the skin will heal and the ink will settle. If questions arise about the look of the tattoo after healing, reach out to the artist for a touch up. If signs of infection appear, seek medical care. Follow the steps above and give new ink the best chance to heal cleanly.
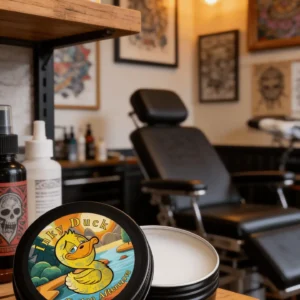
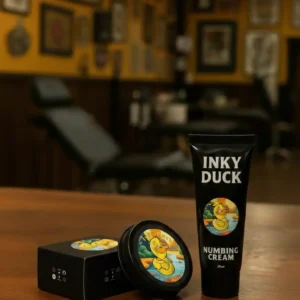
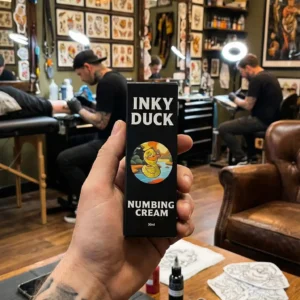
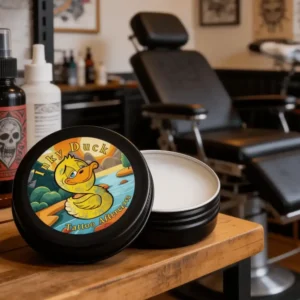
Ready to build your aftercare kit? Explore Inky Duck Tattoo Balm or grab the complete tattoo supplies bundle for a smoother heal.